How to manage users' access to your project?

This article will show you how to manage users' access to your project using roles.

In a project, users can take on different project-level roles, which will determine their access to certain platform functionality and information.

Adding users to your project

Only users added to your project can see and access your project. The project owner(s) is the only individual who has permission to change the user's project role. 

Step 1: Select add user

  1. In the project page, navigate to the "Users" tab.

  2. Click on "Add user to project button" on the top right

Adding user to project

Step 2: Add user

Note: Project owners can add an existing user account, who is not in the organization, to the project. The user will show up in the organization as an external user.

  1. In the add user dialog box, select the user you want to add to your project. The drop-down is a list of users currently in your organization.

  2. Remember to assign a role to your user.

  3. Click on the “ADD USER" option to add more than one user to your project at once.

  4. Click “ADD”. 

Adding user to project

Modifying user's project role

Note: Only the project owner has permission to change the user's project role.

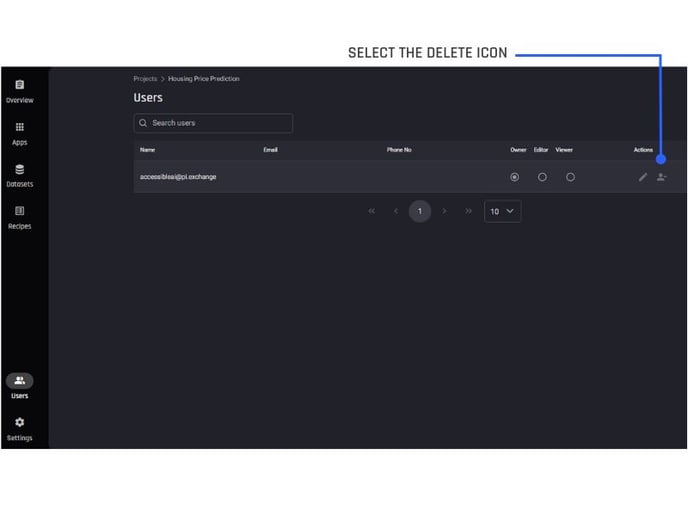
Step 1: Select the edit icon

In the project page's user tab, select the edit icon.

Selecting edit icon

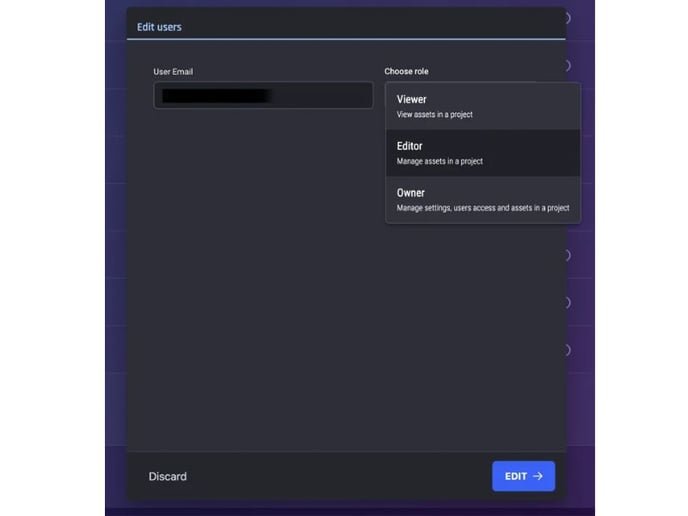
Step 2: Change user role

Change the user's project role as desired. Click on “EDIT” to save changes.

Changing user's project role

Removing a user from a project

Note: Only the project owner has the permission to remove a user from the project.

Step 1: Select the delete icon

In the project page's user tab, select the delete/remove icon.

Product Documentation Screenshots 2023 (1)

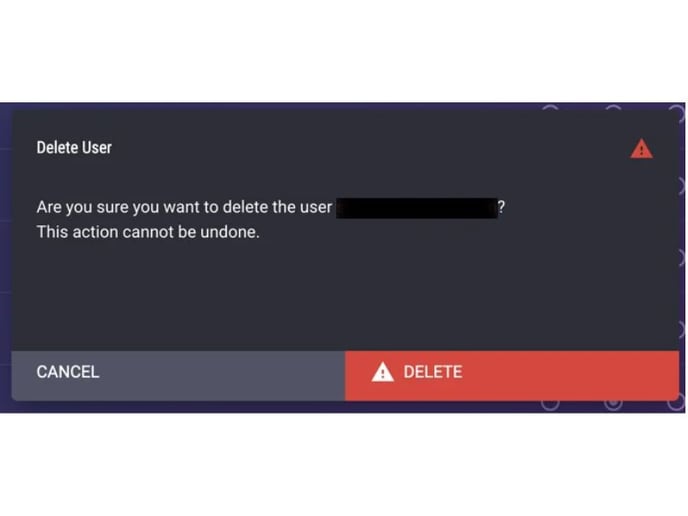
Step 2: Confirm deletion of user

Click “DELETE”. The user will be removed from the specified project, but their user account will remain intact.

Delete pop up message