.gif?width=800&name=USE%20THIS%20SIZE%20Blog%20Images%20(1).gif)
.png?width=800&name=USE%20THIS%20SIZE%20Blog%20Images%20(4).png)
.gif?width=800&name=USE%20THIS%20SIZE%20Blog%20Images%20(2).gif)
.gif?width=800&name=USE%20THIS%20SIZE%20Blog%20Images%20(3).gif)

Data Cleaning
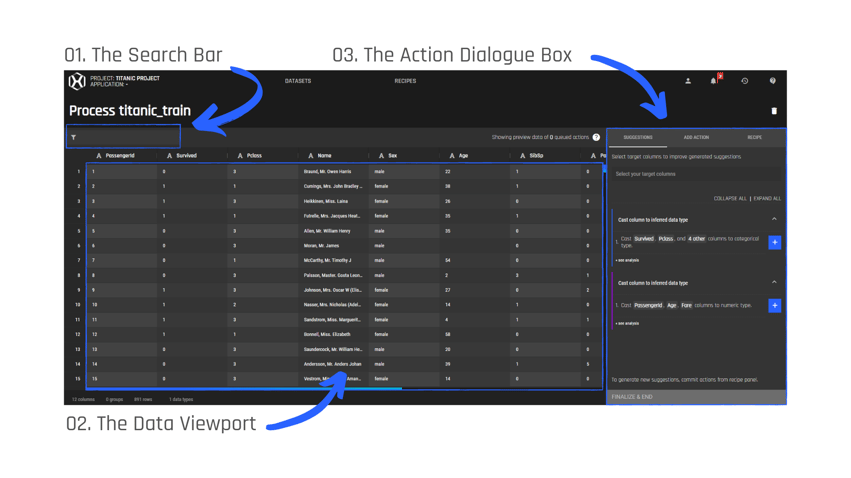
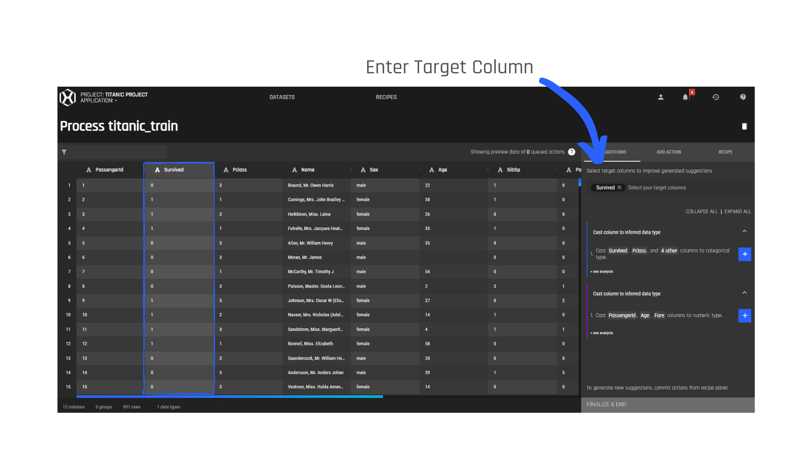
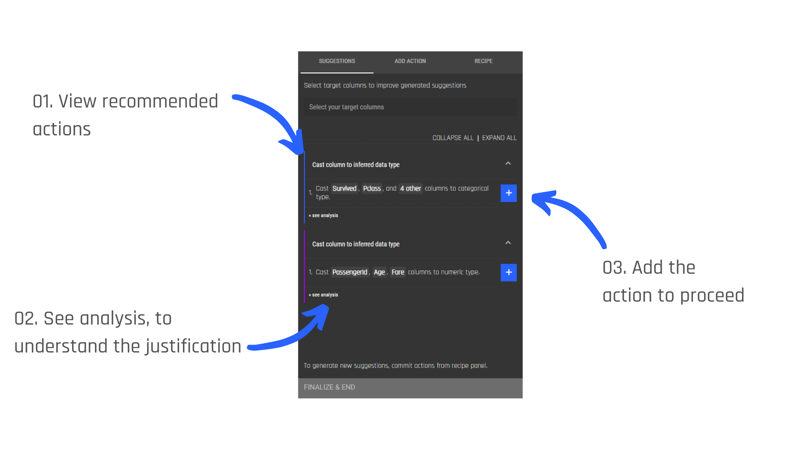
AWS Glue DataBrew, how does it compare to the AI & Analytics Engine’s Smart Data Preparation?
Comparison of AWS' recently announced data preparation tool, AWS Glue DataBrew, and The AI & Analytics Engine's Smart Data Preparation feature.